The “baby cup” case
9 cm: this is the height of the laser scan of the lidar on our Open Plateform Palbator.
6 cm: this is the height of a cup of tea.
Once this has been said, we told you everything there is to know.
We would not like the robot to spill a cup of coffee landing on the ground and wastes this precious amount of energy. That’s what happend in 2016 in the arena of Leipzig. We had to add new sensors in order to prevent such a tragic event from happening again. So that is what we did !
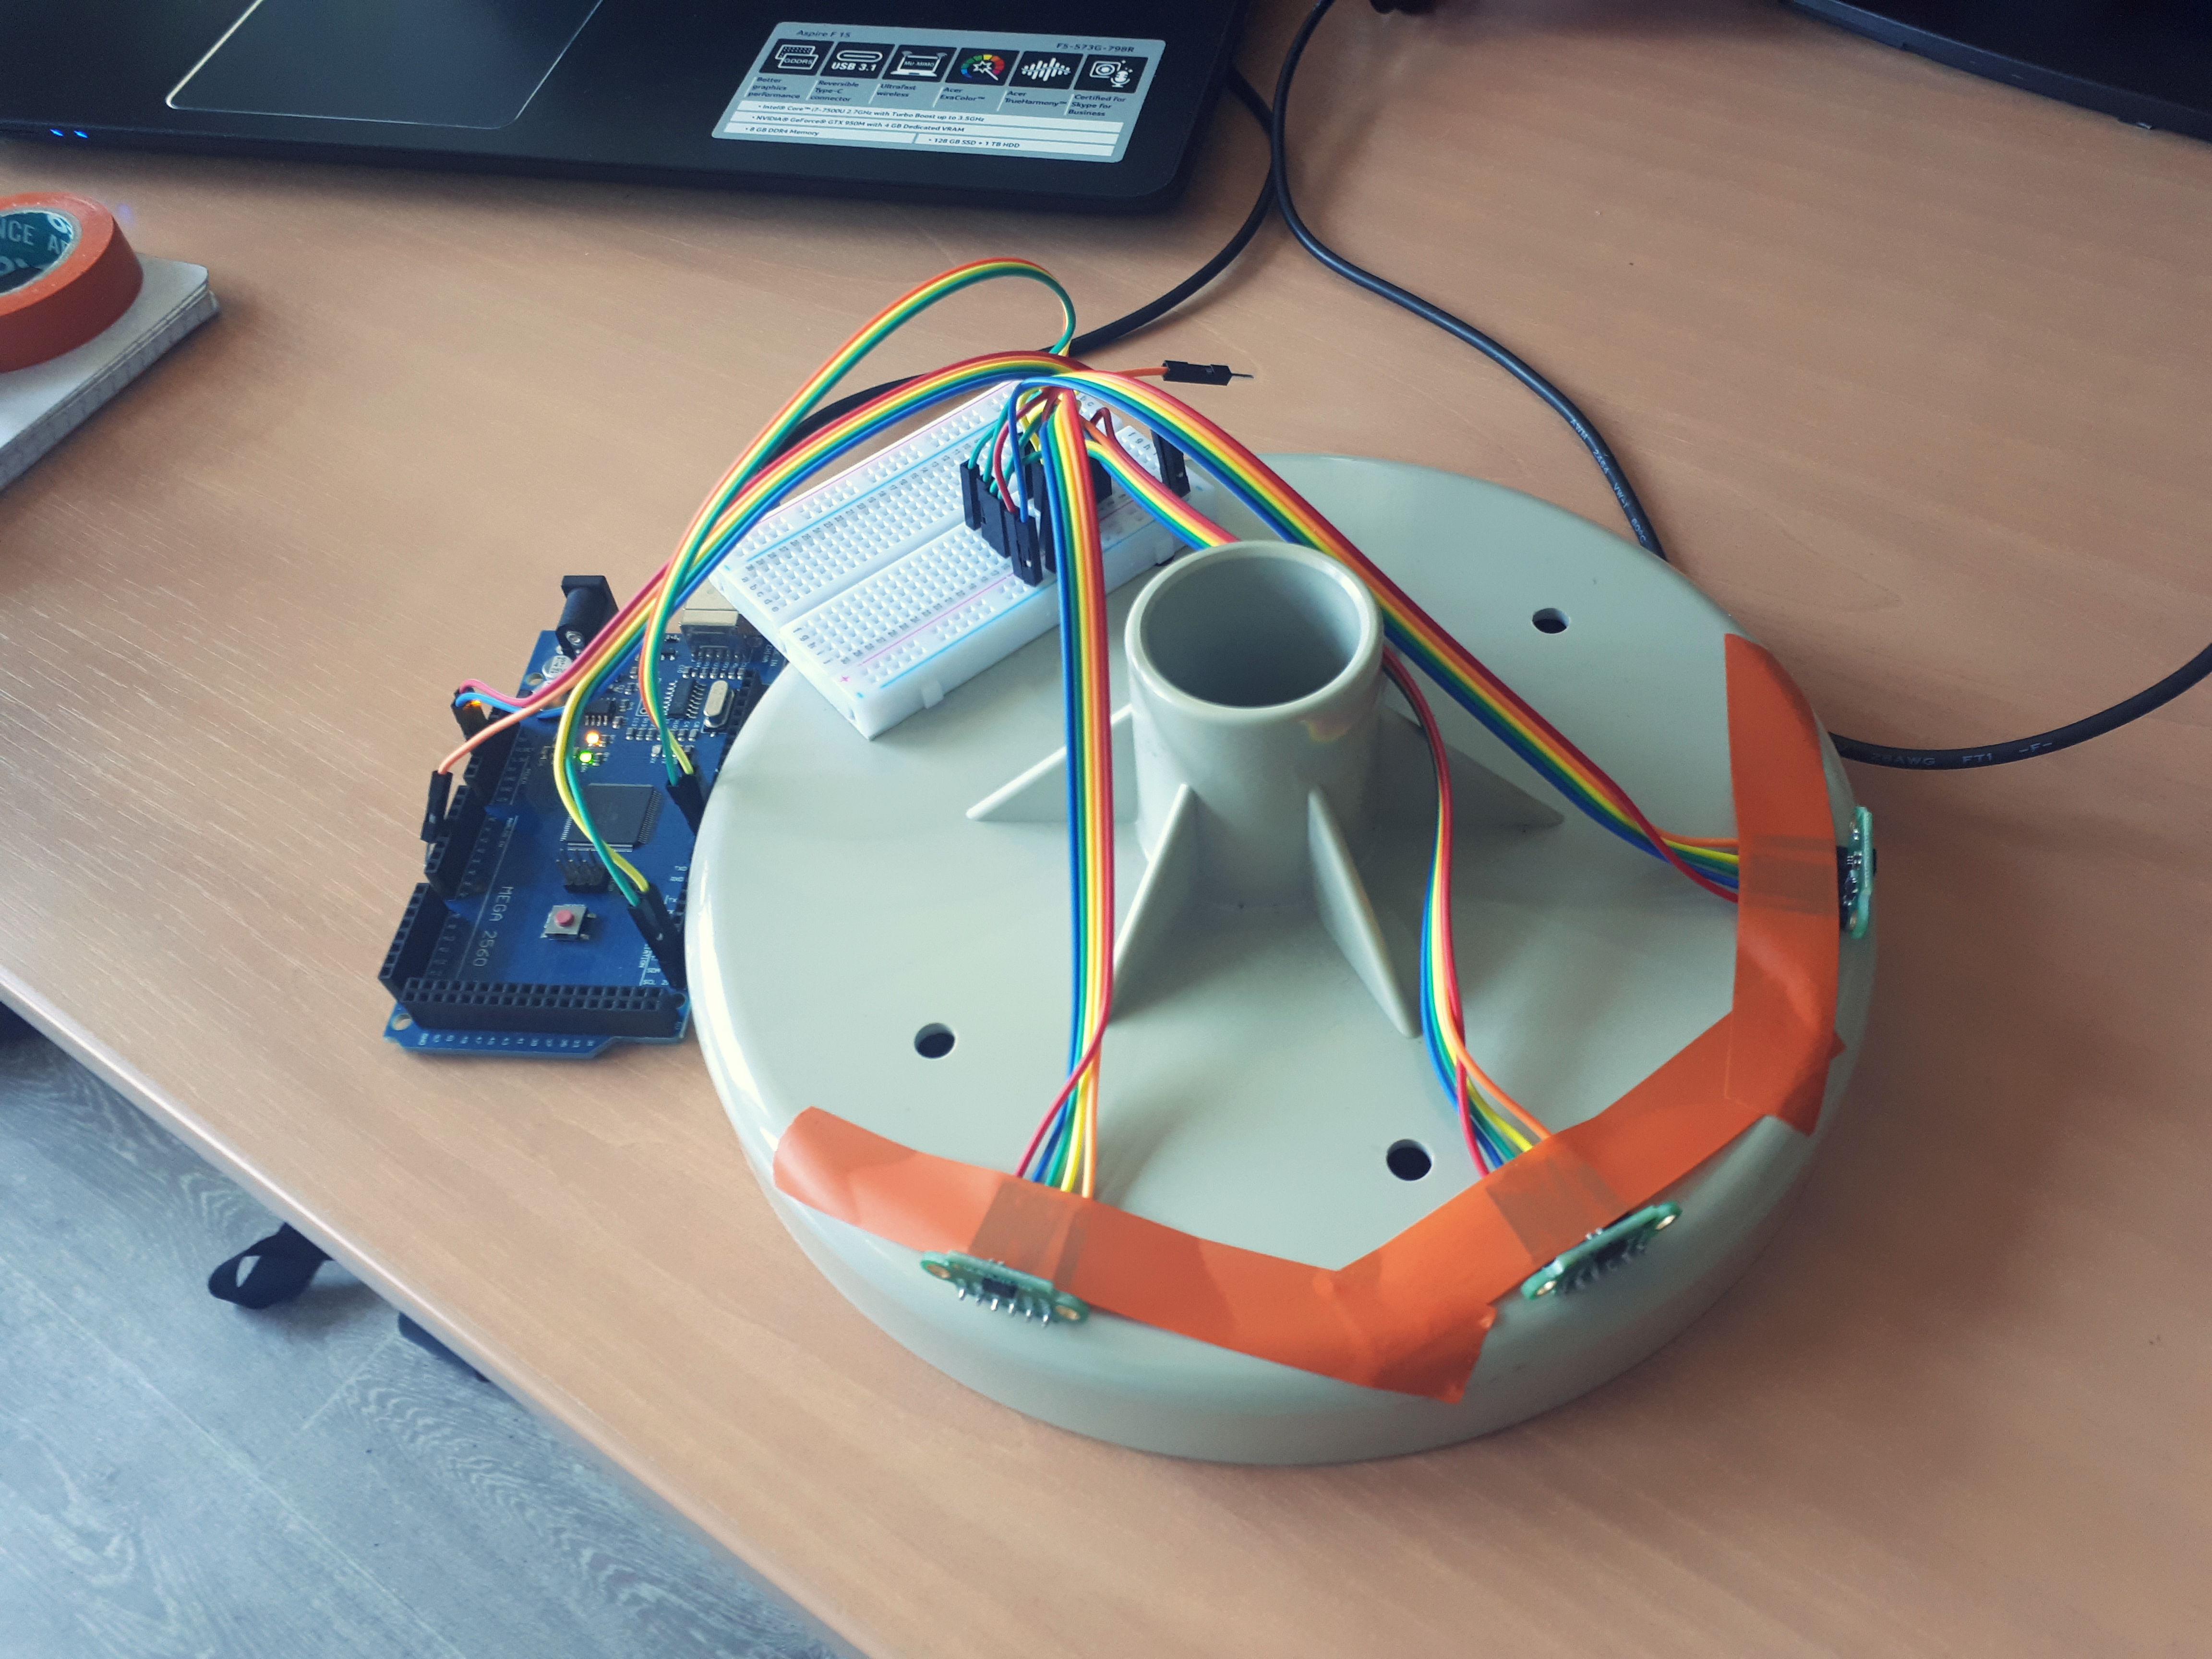
A microcontroller, some ToF sensors and a couple of weldings later and we created a system capable of detecting low obstacles such as a cup of coffe, but also the tip of a foot that the 50kg robot can step on if not detected.
For the sensors, we used the VL53L0X sensors because they are eadsy to use, efficient and space-saving. We put 3 of them at a time so that we cover a wider cone, and we placed them in front of the robot because it only moves forward. They use I²C protocol wich is really easy to set up with common microcontrollers.
We used an Arduino MEGA with the ROS libraries (microcontroler and computer) to get the sensor info and pass it to our ROS environmen. An Arduino MEGA was necessary for memory purposes (ROS librairy and VL53L0X objects are quite memory-consuming).
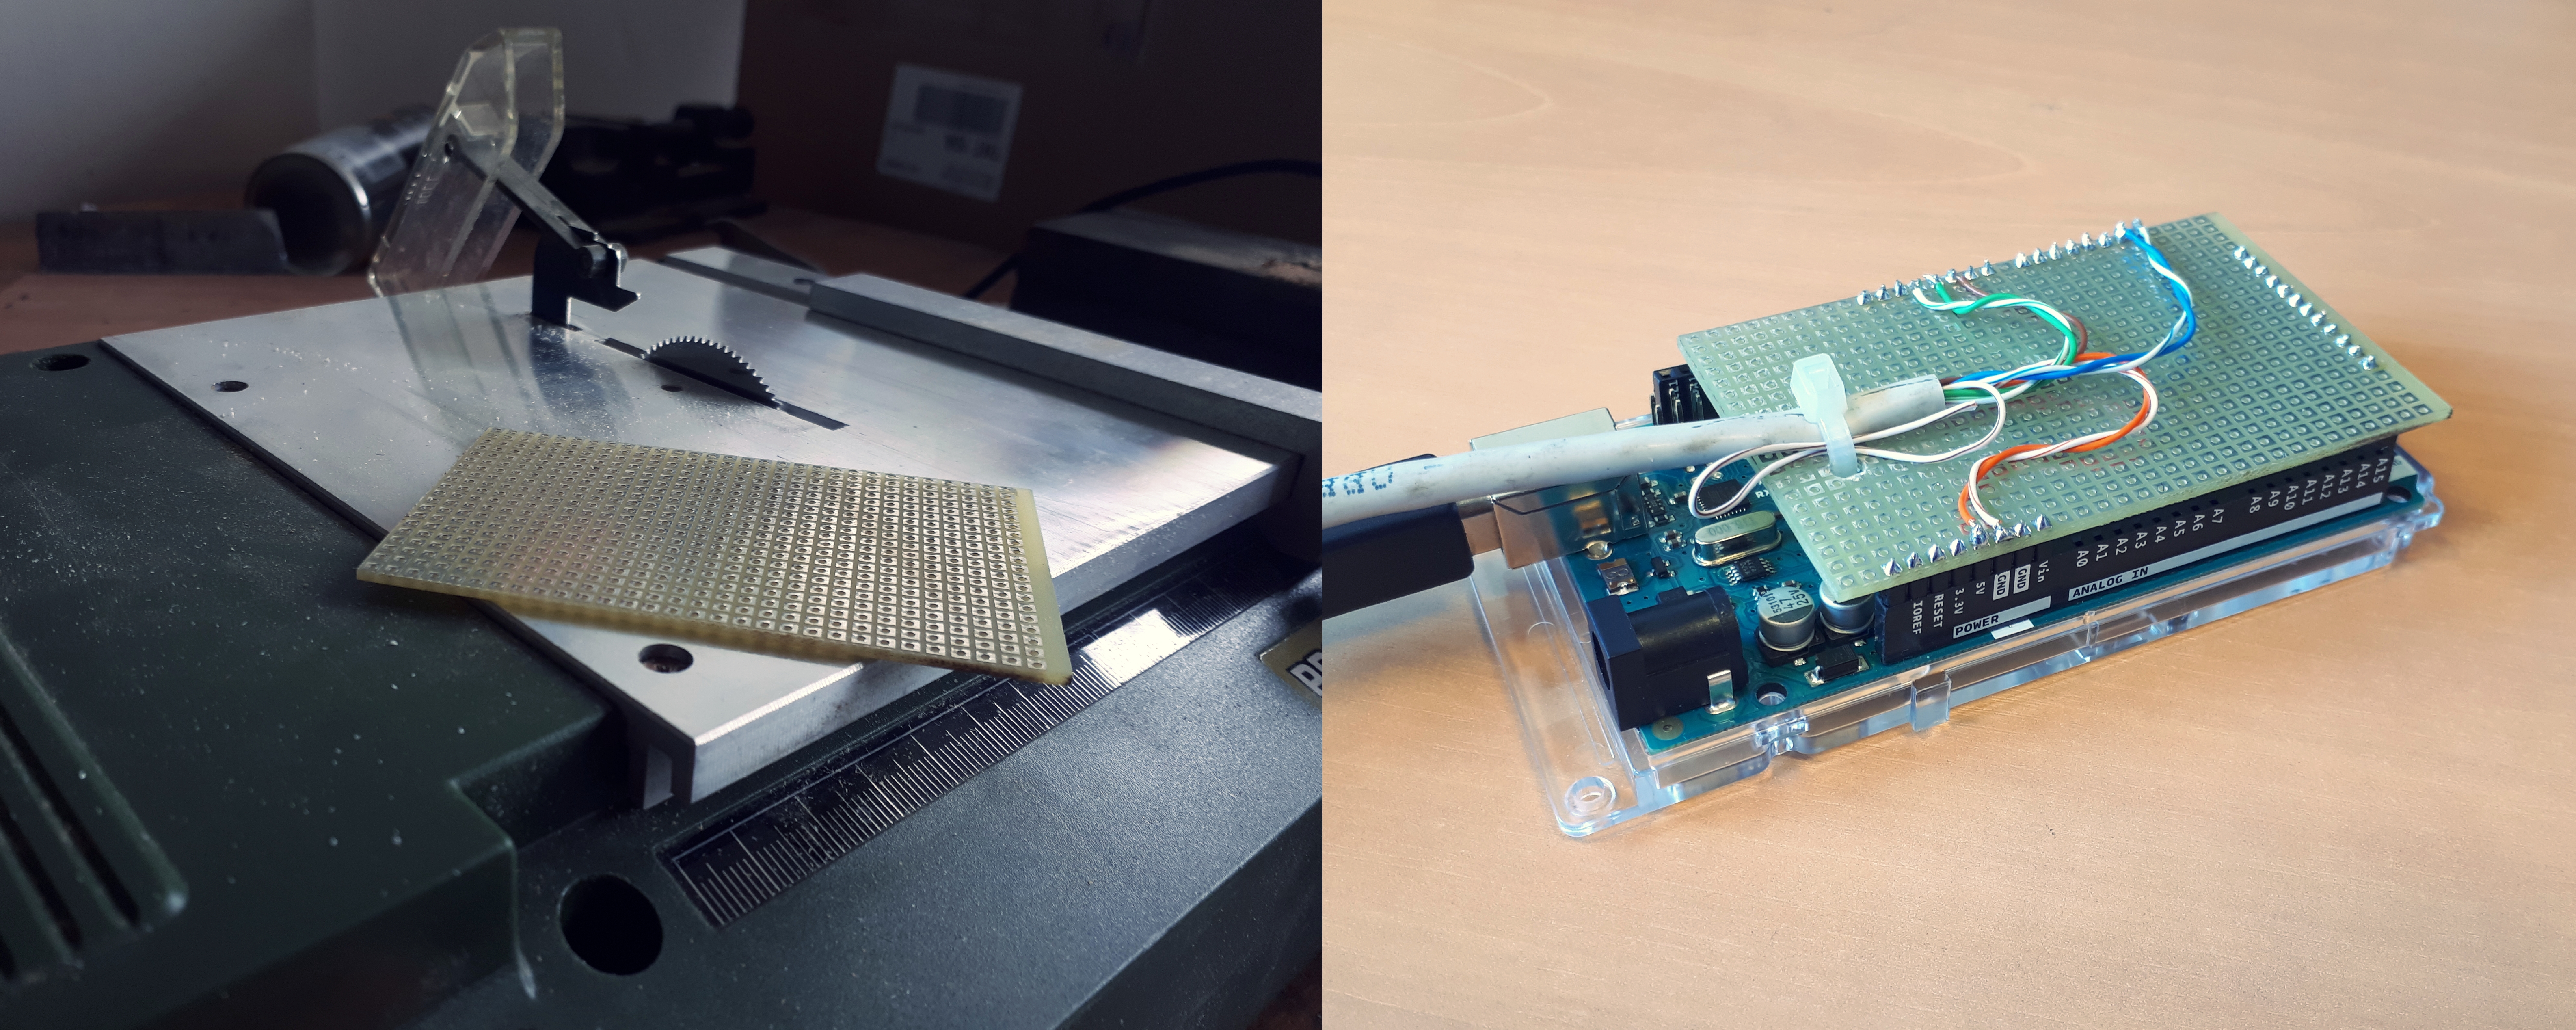
This is what the V0 looked like:
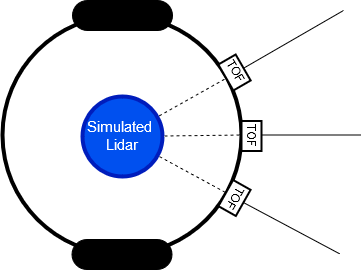
We had ranges that told where the baby cup was and in wich direction, published in a ROS message one after the other. The problem is that the ROS local_costmap layer only take LaserScan or PointCloud. So we tranformed this range topic into a Laserscan topic to be able to integrate it into the ROS Navigation Stack. The 3 range sensors are seen by the robot as a lidar in the middle of the robot which takes 3 measures on a restricted angle as displayed below:
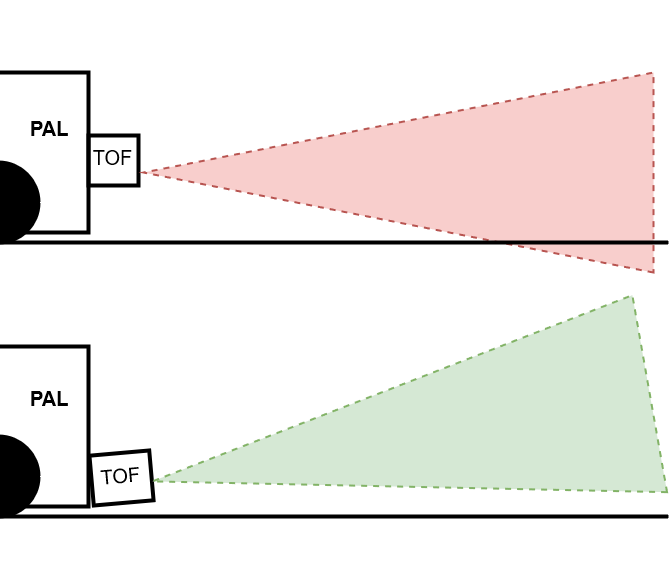
As the Tof are not exactly linear, according to the datasheet we calculate the angle that allows us not to detect ground as an obstacle and that reduces the dead zone near the sensor.
In order to do so, we model and 3D print cases to attach the sensor correctly to the base at the correct angle. At first we glue the suport to the base in order test the position and see the real result.
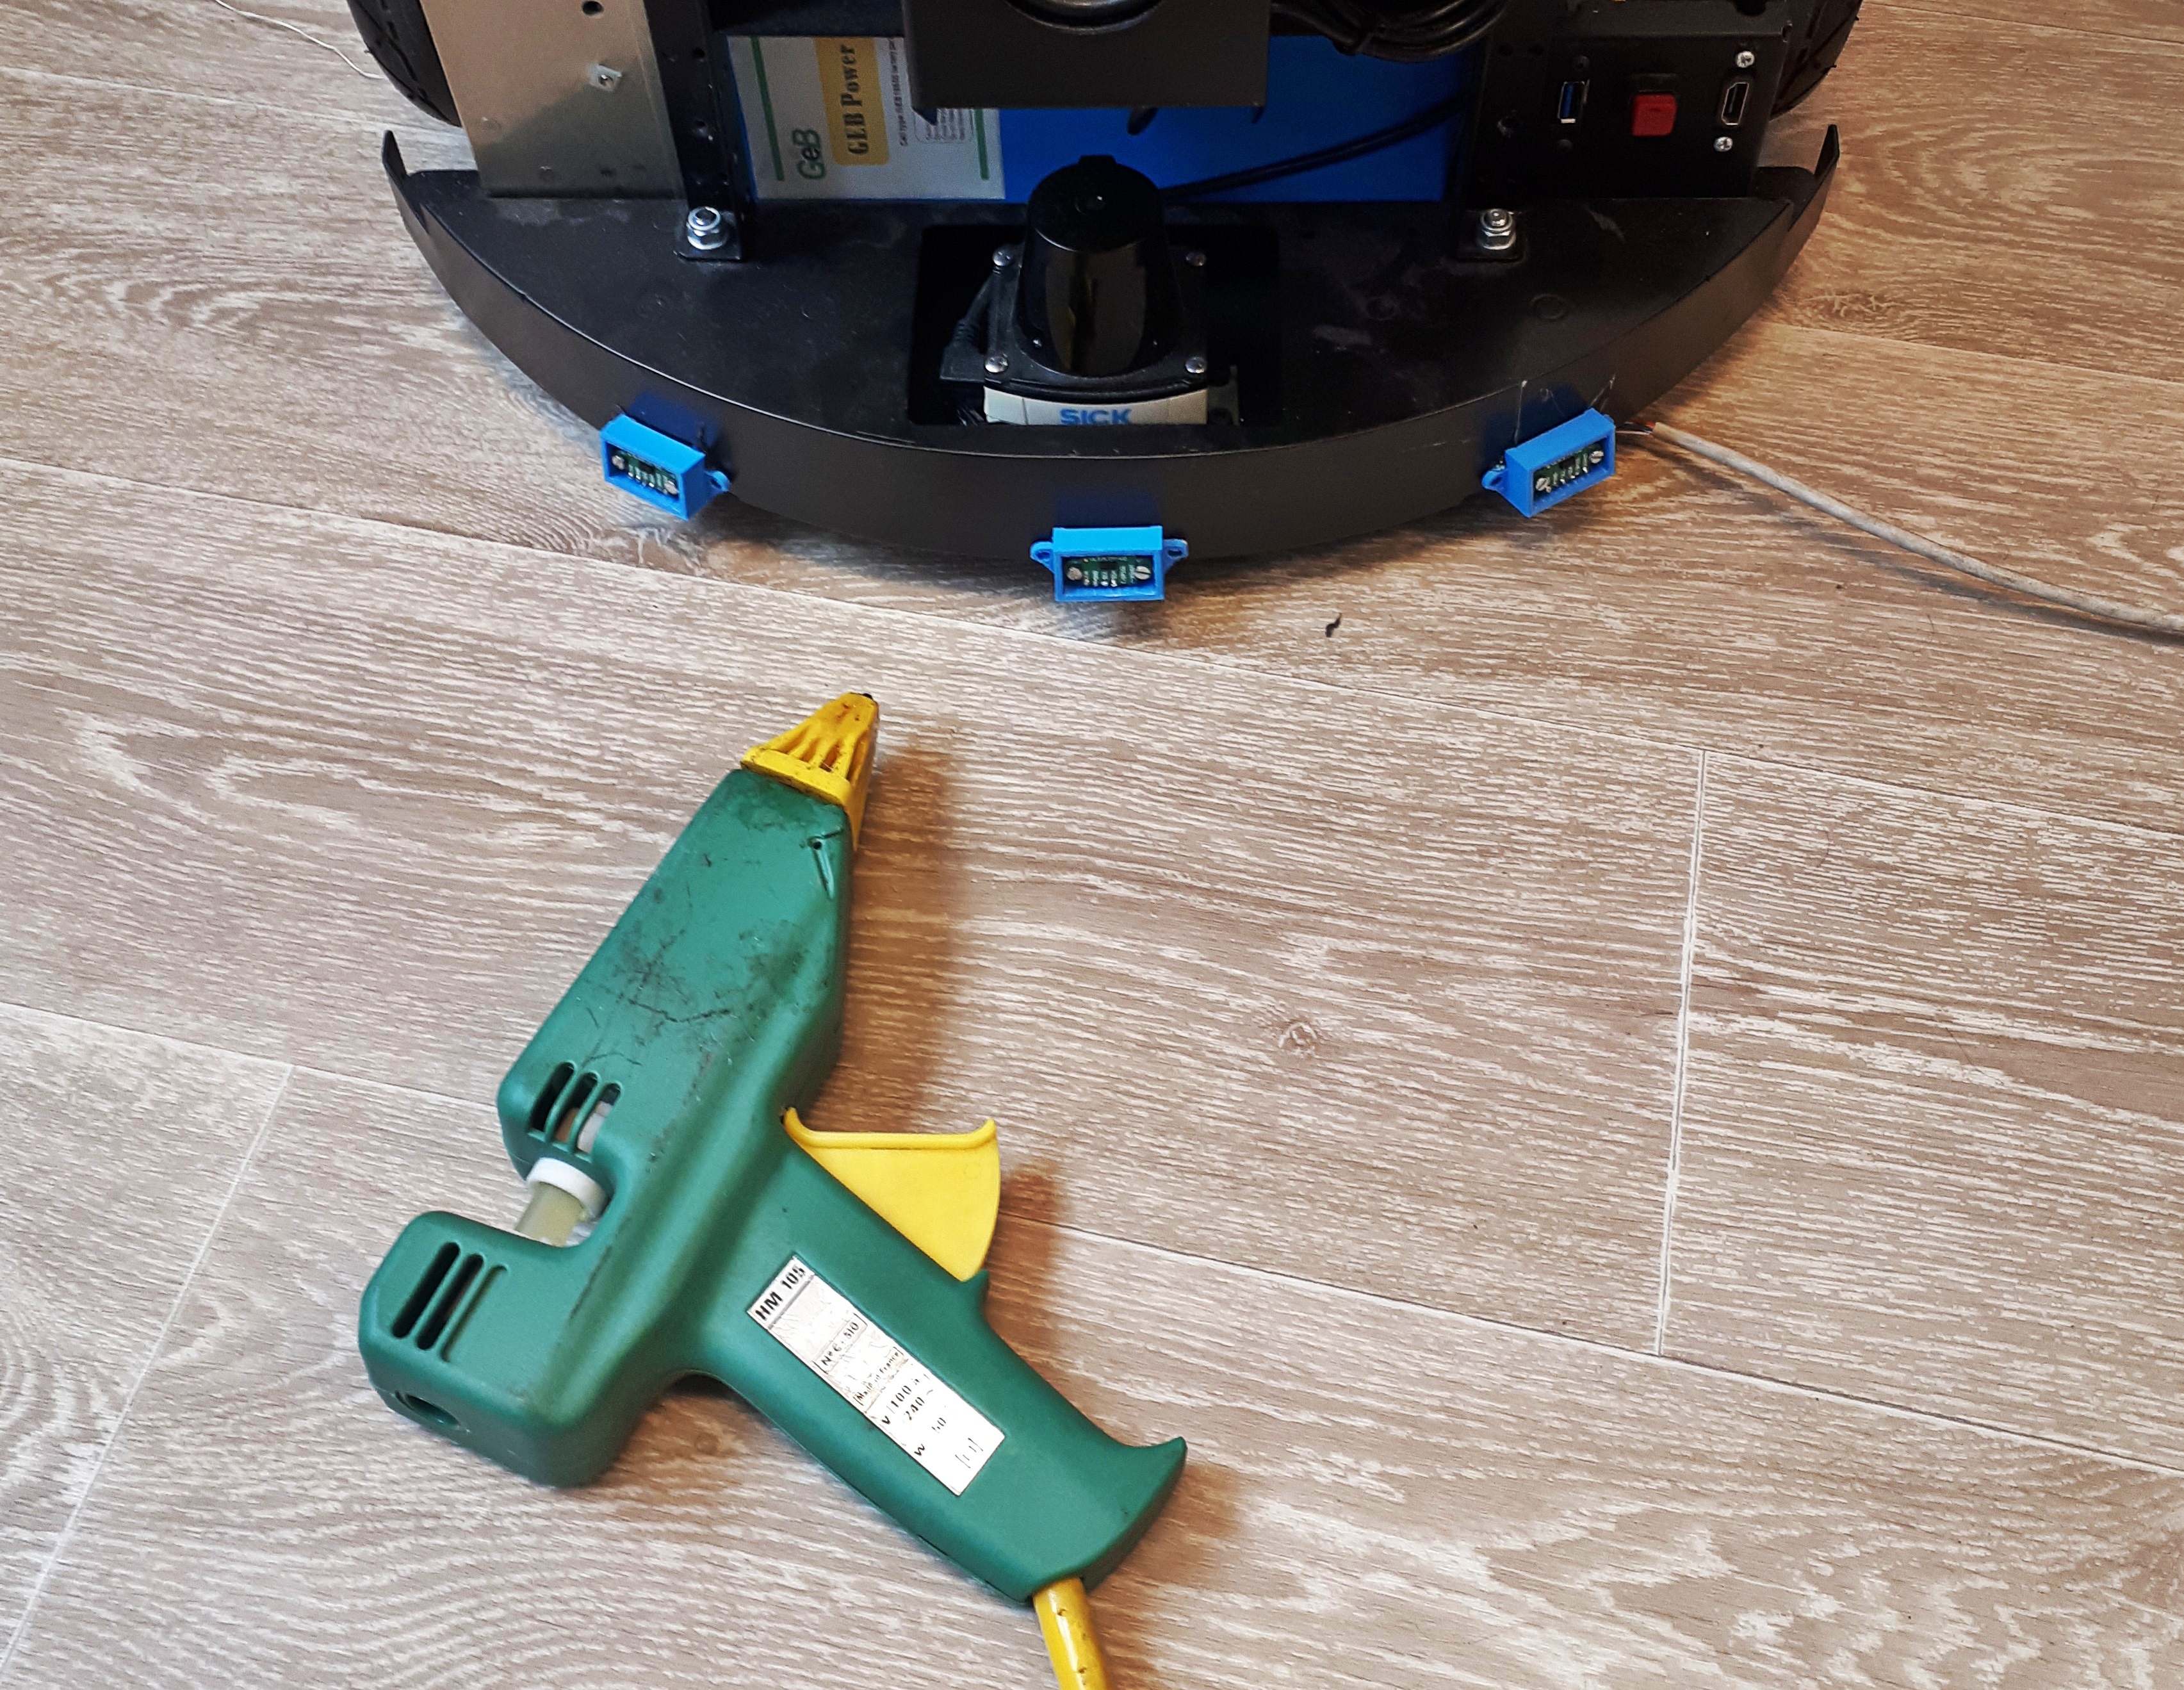
In order to create something removable and upgradable, we create a shield for the arduino MEGA.
And then we finish the implementation of the new functionality into the robot.
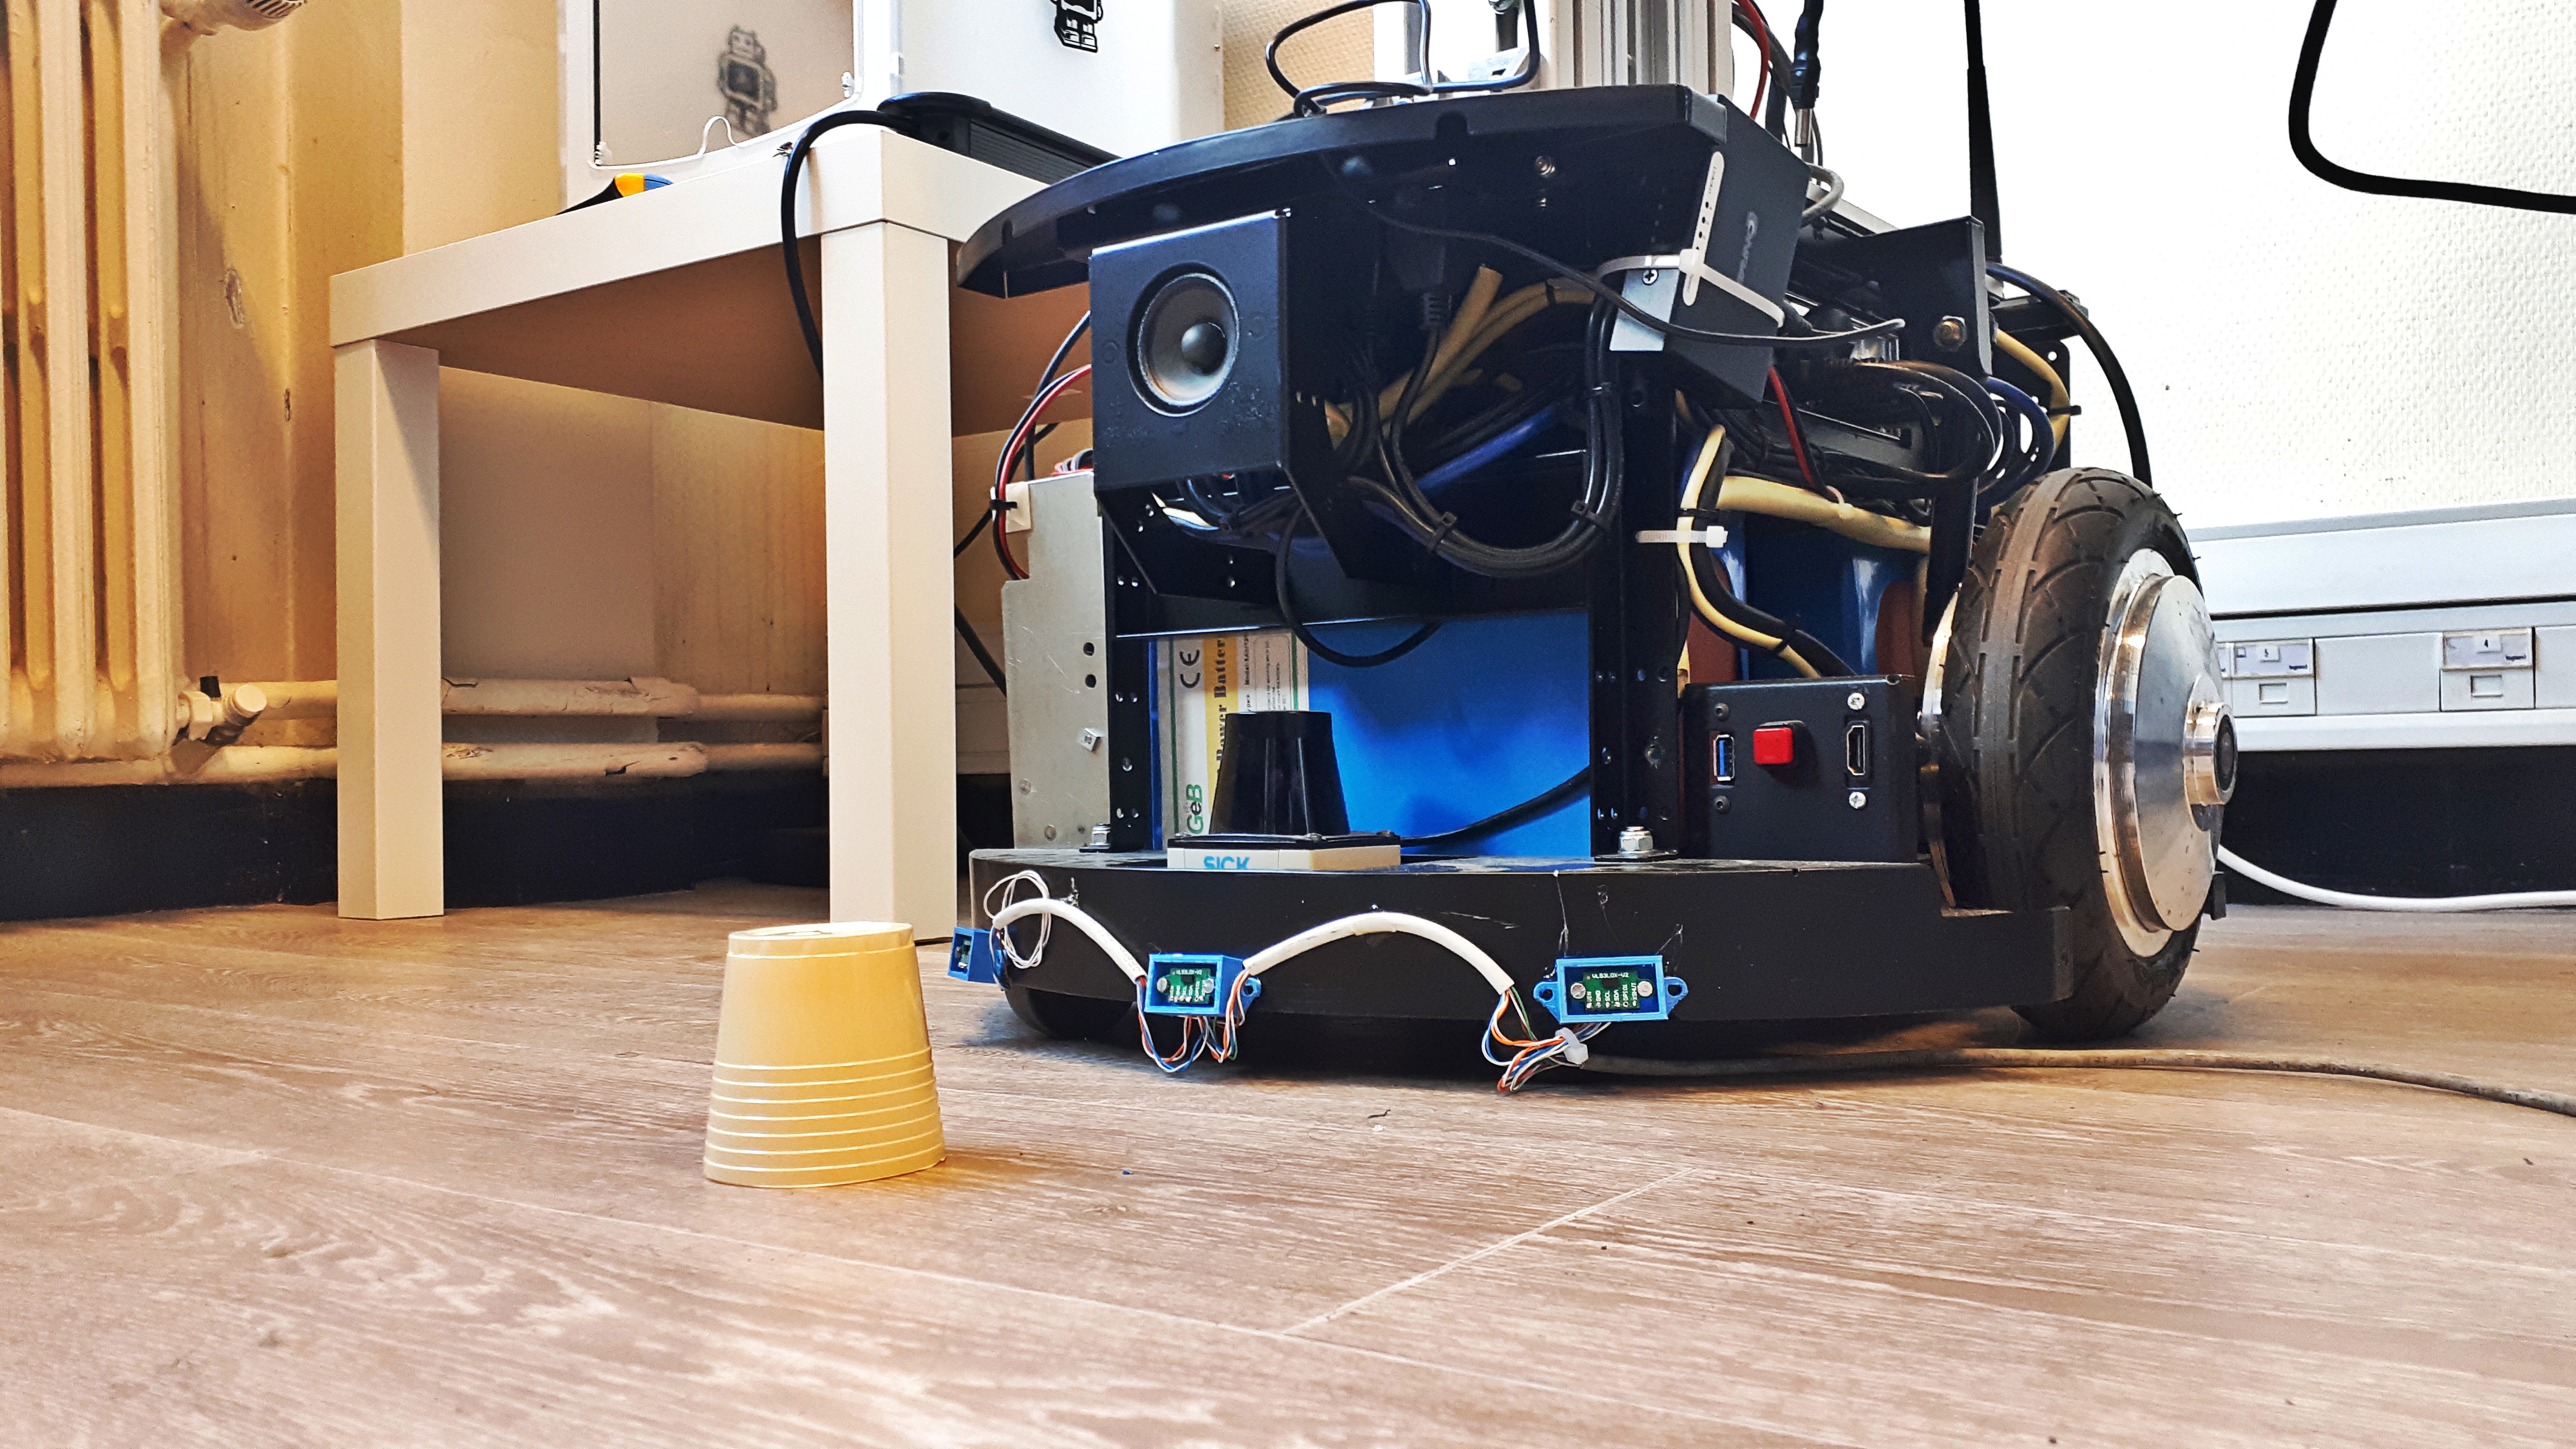
Palbator is now able to detect a small cup using the external devices we have added.
Baby cup problem? Deal with it!